
Make your first family tree in the editor
Start from a ready-made tree in the free editor, type the names, add photos, and change the colors and the layout. No account needed.
This guide takes you from an empty template to a design you like. You need only a web browser. You do not need an account to try it.
Keep this guide open in one browser tab and the editor in another, so you can follow the steps one by one.
Open the free editor
Where to find it: Any Treeshy page → Get started → Try the editor
Open the Get started menu at the top of the page and choose Try the editor.
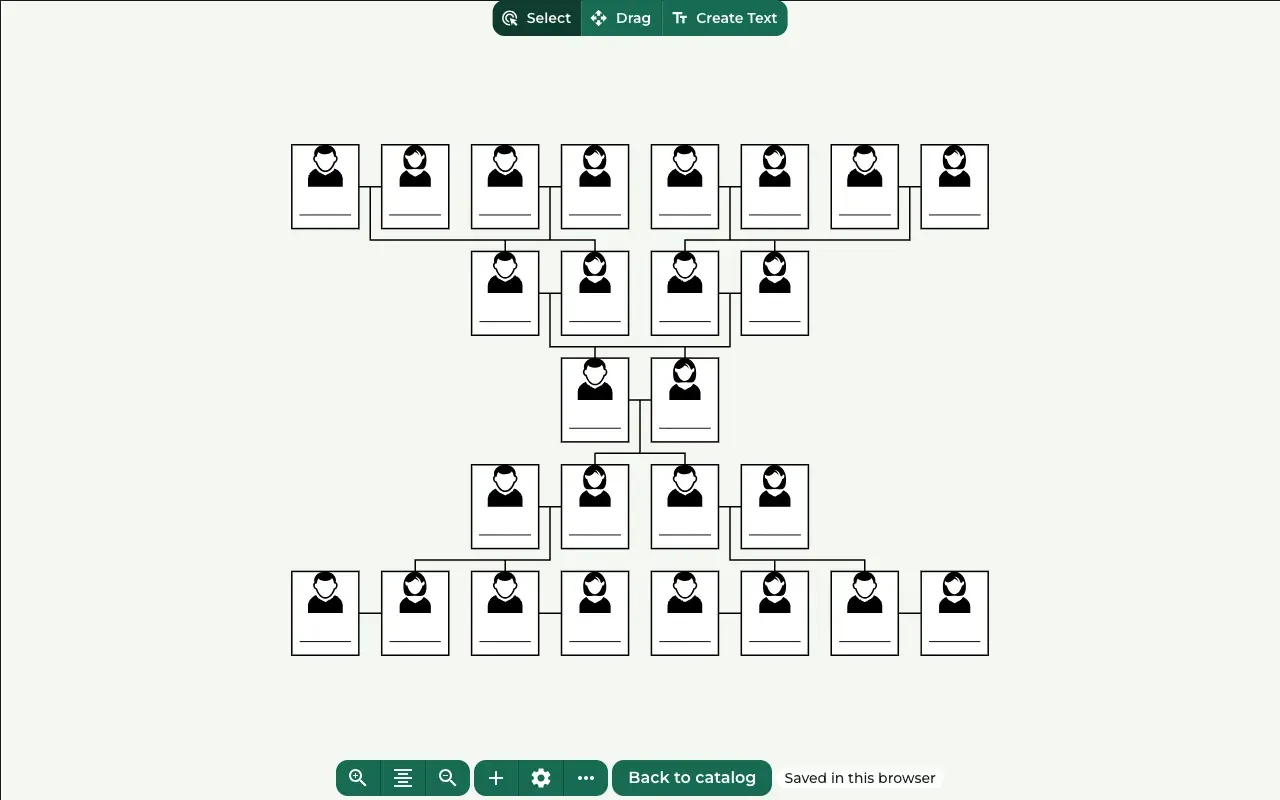
The editor opens with a ready-made family tree. Every person card is empty and waits for a name.
The editor keeps your work in this web browser while you edit. The note at the bottom says Saved in this browser. Until you have a plan, the canvas shows a PREVIEW TREESHY.COM mark; it is only on the screen.
Choose your starting point
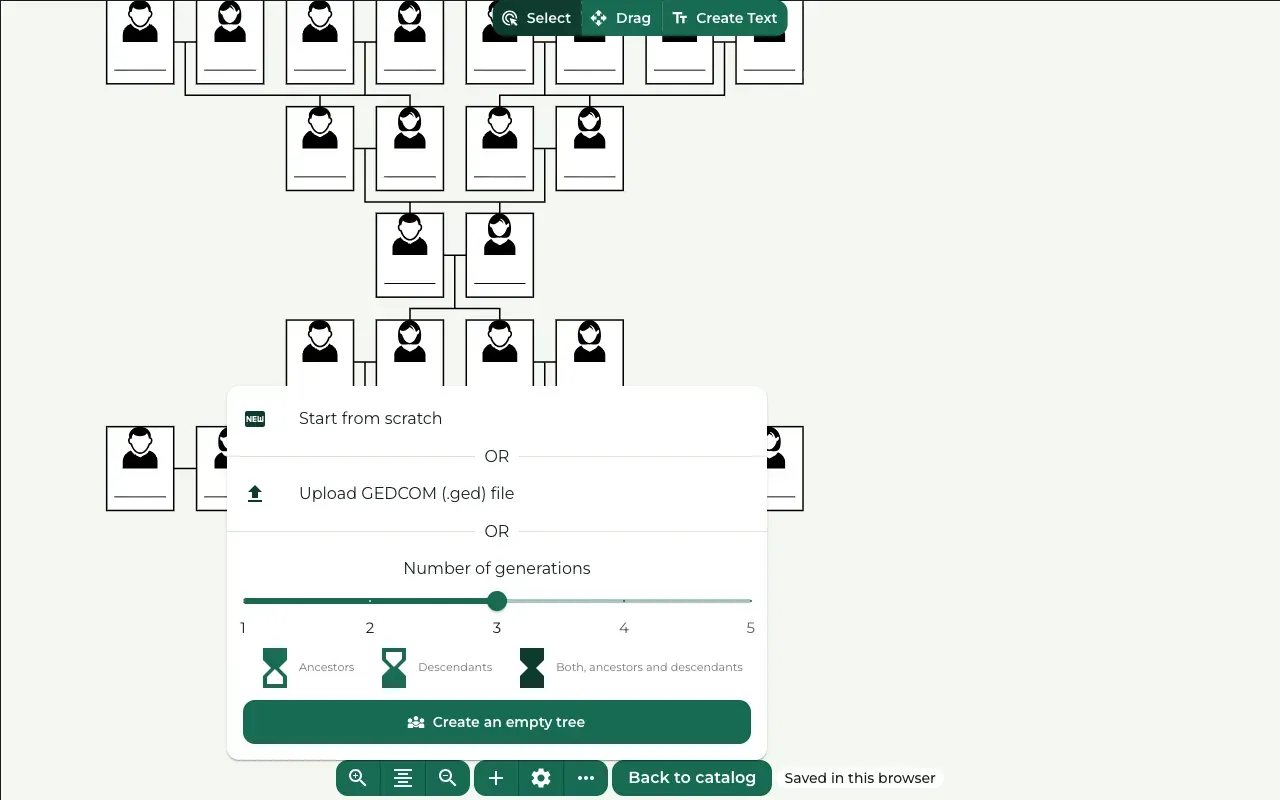
Where to find it: Toolbar at the bottom → Add data (the plus button)
You can keep the ready-made tree and go to the next step.
For a different number of generations, press Add data. Set Number of generations with the slider, and choose Ancestors, Descendants or Both, ancestors and descendants. Then press Create an empty tree.
Treeshy asks before it replaces your tree. Press OK to continue.
Already have your family tree in a genealogy program? Import it as a GEDCOM file instead of typing every name. To build the tree person by person from a few empty cards, follow Make a family tree from scratch.
Type the names
Where to find it: Click a person card → Person actions
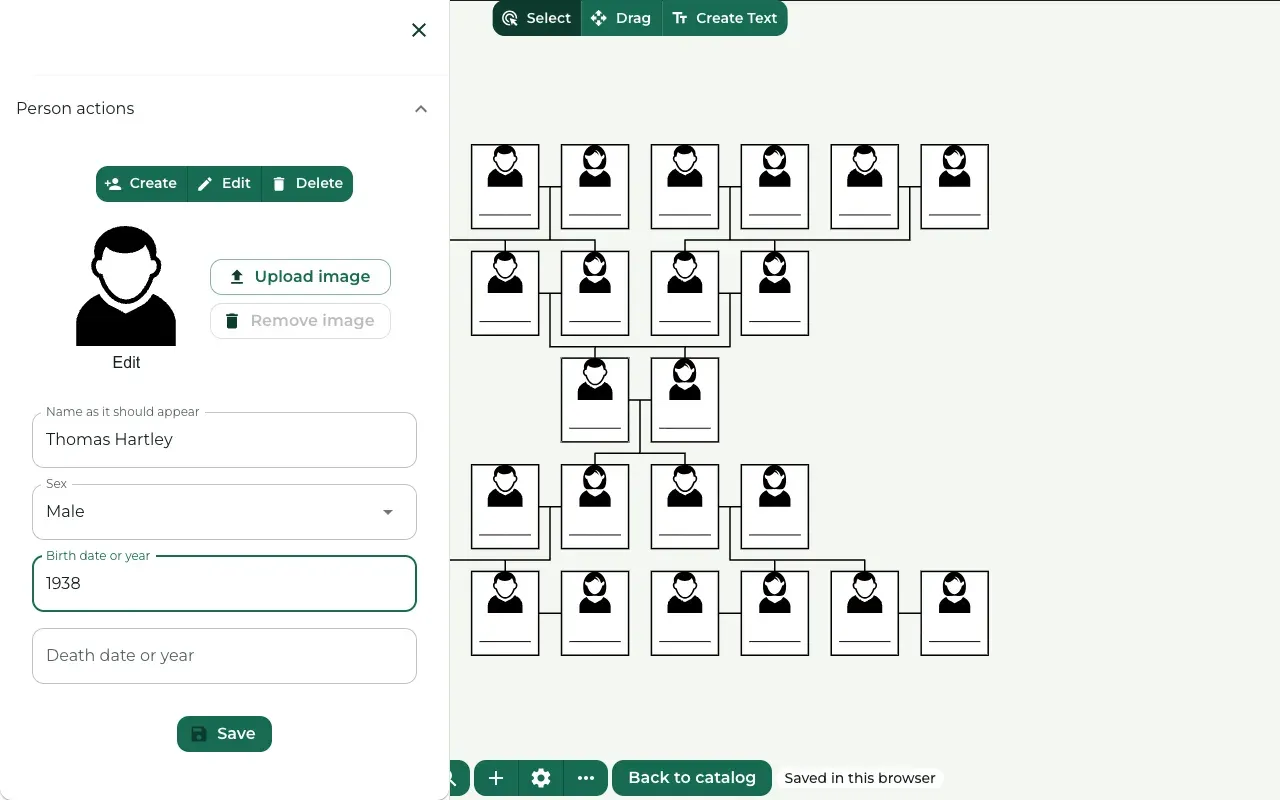
Click a person card. The Person actions panel opens on the left.
Type the name in Name as it should appear. Add years in Birth date or year and Death date or year.
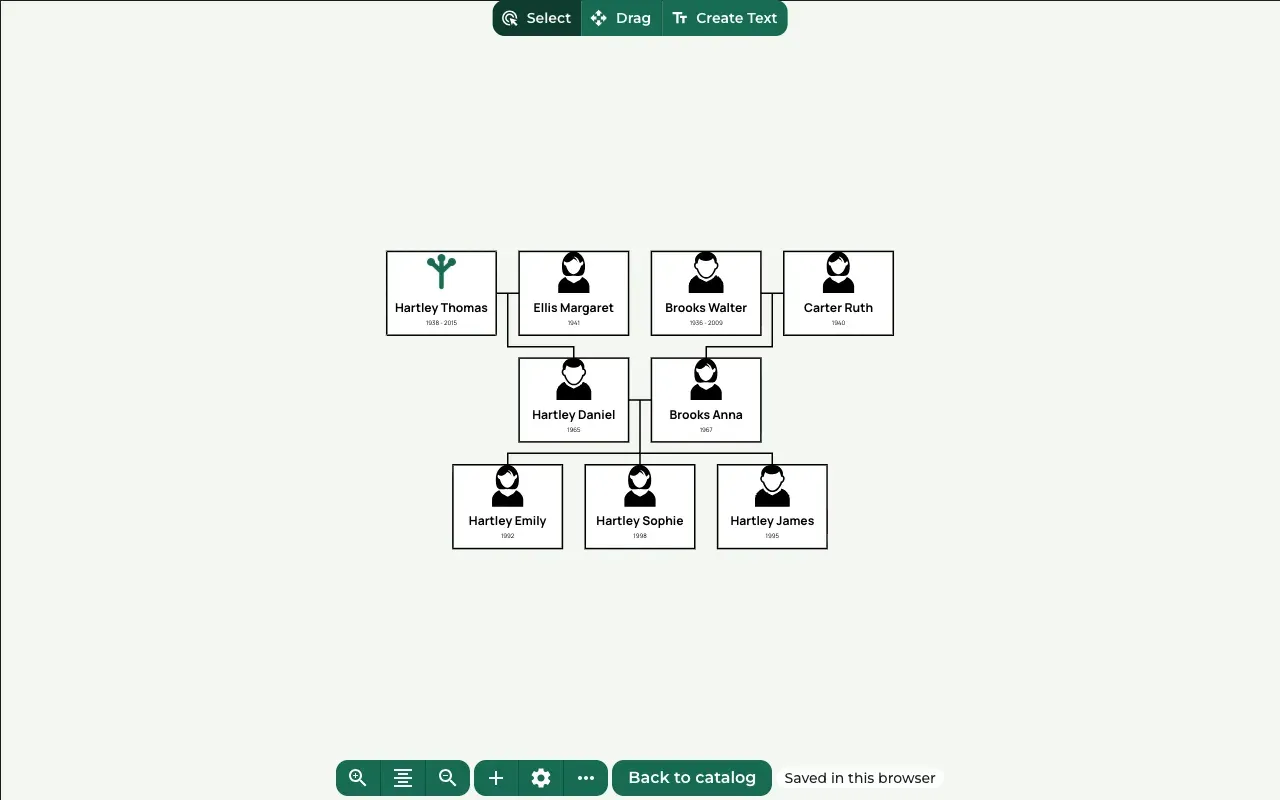
Press Save. The name appears on the card. Repeat this for each person.
Add photos
Where to find it: Person actions → Upload image
Keep the person selected. Press Upload image and choose a photo from your computer. Press Save.
In the free editor, photos stay in your web browser. They are not uploaded anywhere.
Choose a card style and colors
Where to find it: Settings (the gear button) → Settings → Node layout and frame
Press the gear button at the bottom of the screen. Under Node layout and frame, Card layout shows ready-made card styles, from a plain Rectangle card to a Victorian card or a Golden laurel. Click one to use it for every person.
Under Text settings, choose the Font style and the Font color of the names.
For a whole finished look at once, open Template Style at the top of Settings and click one of the pre-built templates. Colors, fonts and frames shows every setting.
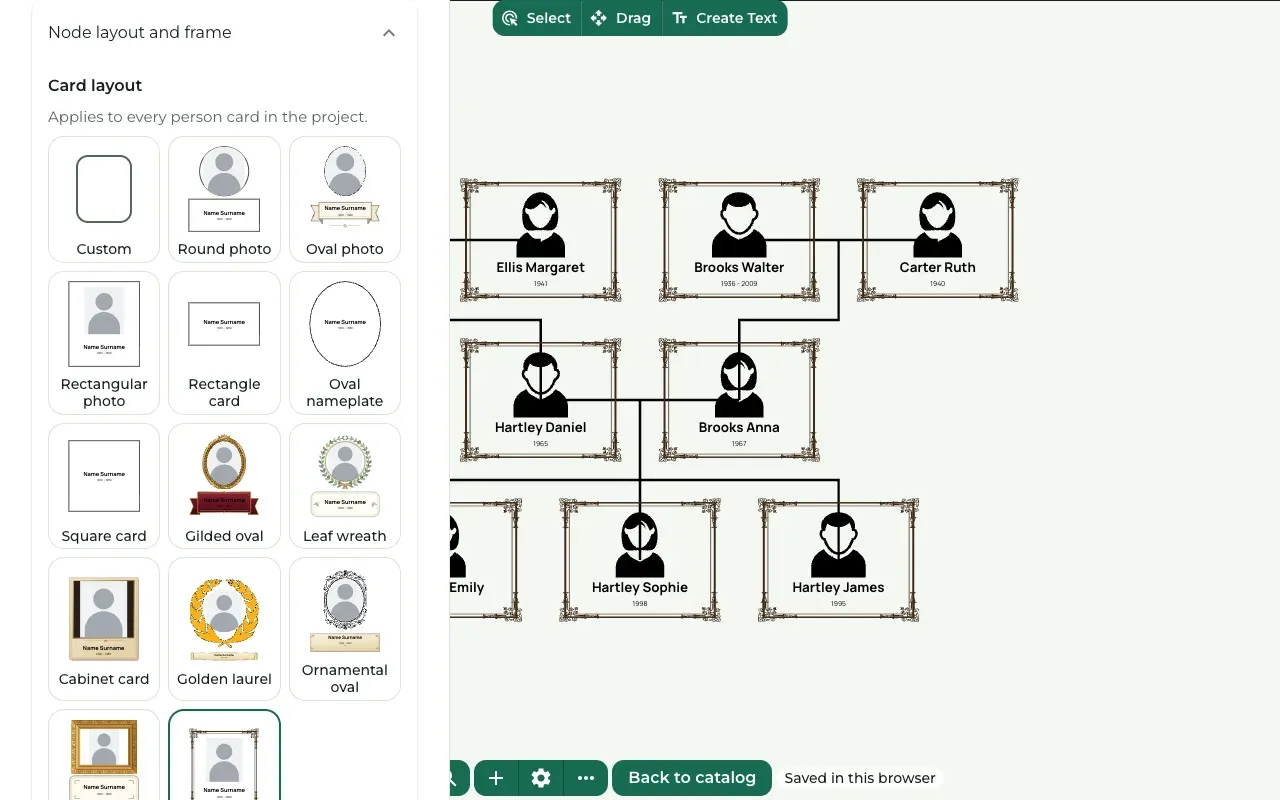
Change the layout
Where to find it: Settings (the gear button) → Background settings
In Tree direction, choose which way the tree grows, for example Left to right.
Or press Artistic to arrange the people on a tree crown. Press Classic to go back.
Press Center content at the bottom of the screen to bring the whole tree back to the middle.
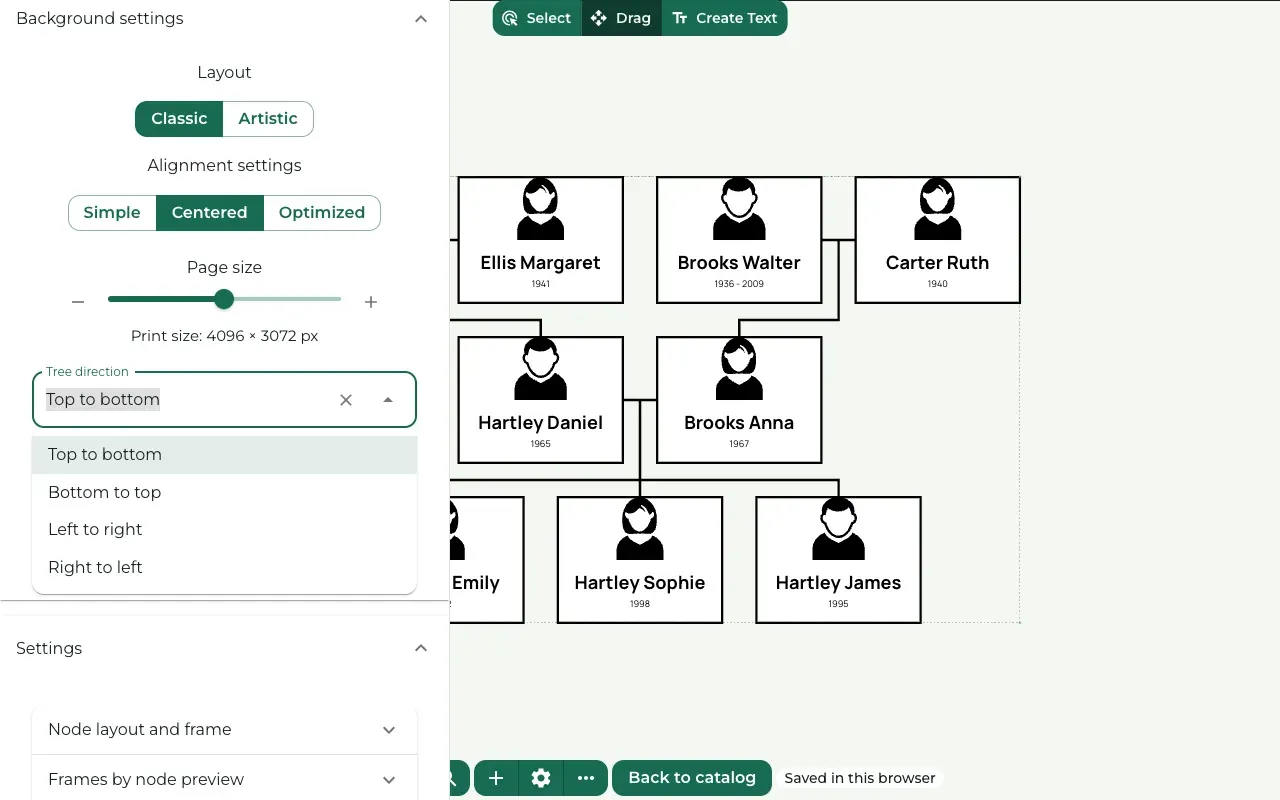
Keep your design
Zoom in and read every name and date once more.
The free editor has no Download button. To get a print-ready file, choose one of these:
- Get a plan and keep working on your tree in your account. Subscribe from this browser, and Treeshy adds the tree you made here to your projects.
- Or let Treeshy design a tree for you with the form and buy just that design, once.
Still stuck? Look for your question in the FAQ, browseall guides, or write to us.