
Editor tour
Find your way around the editor, the toolbar, the Settings drawer and the Commands list, so you know where each guide's buttons are.
The Treeshy editor opens in your web browser. You do not need to install anything.
This tour shows the main parts of the screen. Then you know where to look when a guide names a button. Hold the mouse over any button to see its name.
The canvas and the tools at the top
Where to find it: The middle of the screen and the top edge
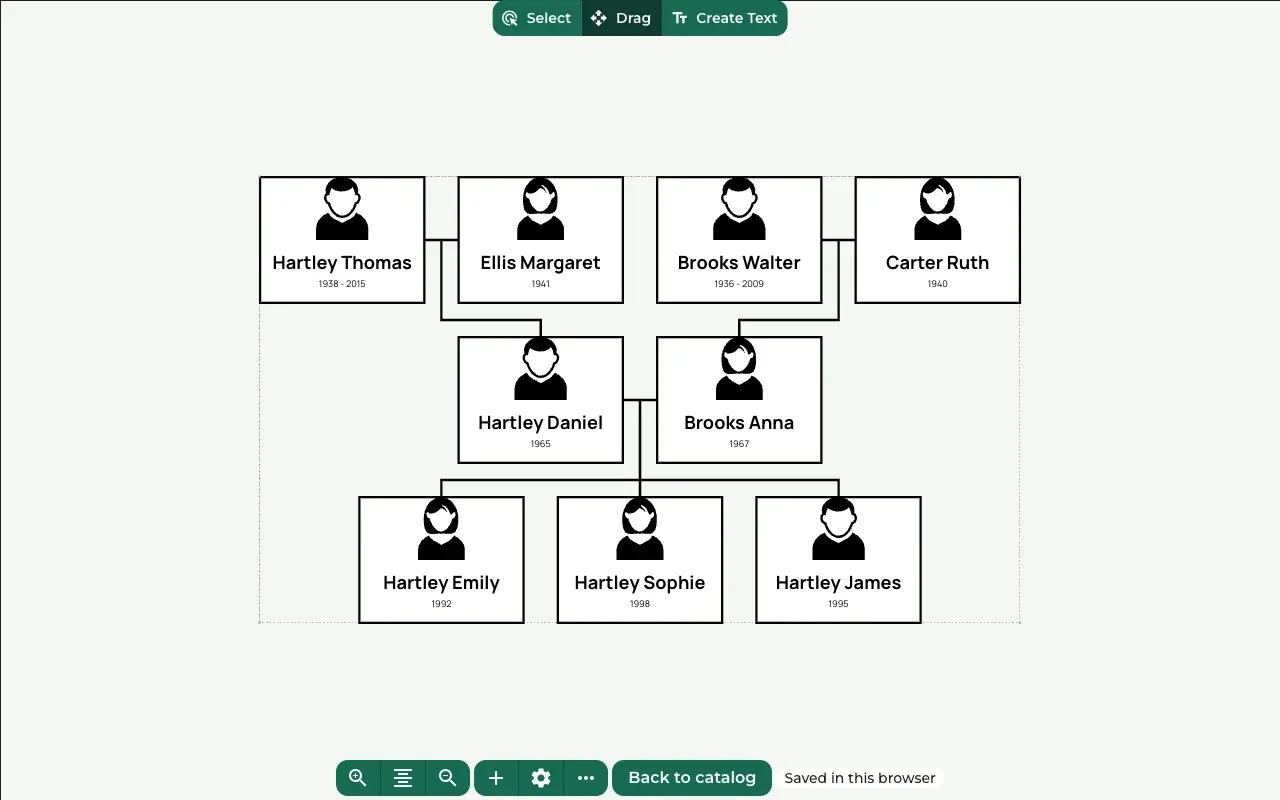
The large area in the middle is the canvas. Your family tree sits on it, and each person is a card. Until you have a plan, the canvas shows a PREVIEW TREESHY.COM mark; it is only on the screen.
Three tools sit at the top. Select is the normal tool: with it, you click a person card or a text to change it. Drag moves the whole view with the mouse. Create Text adds a text box to your design, as the guide Text and titles explains.
The toolbar at the bottom
Where to find it: The bottom of the screen
From the left:
- Zoom in, Center content and Zoom out change your view. Zooming does not change the size of your design. Press Center content when part of the tree has moved off the screen.
- Add data (the plus button) replaces the people on the canvas: with an empty tree, or with a family tree file.
- Settings (the gear button) opens the Settings drawer.
- More editor actions (the three dots) opens a short menu.
In your own projects, the toolbar also has Download. In the free editor, Back to catalog returns to the page you came from, and the note Saved in this browser shows that your work is kept in this web browser.

The Settings drawer
Where to find it: Toolbar at the bottom → Settings (the gear button)
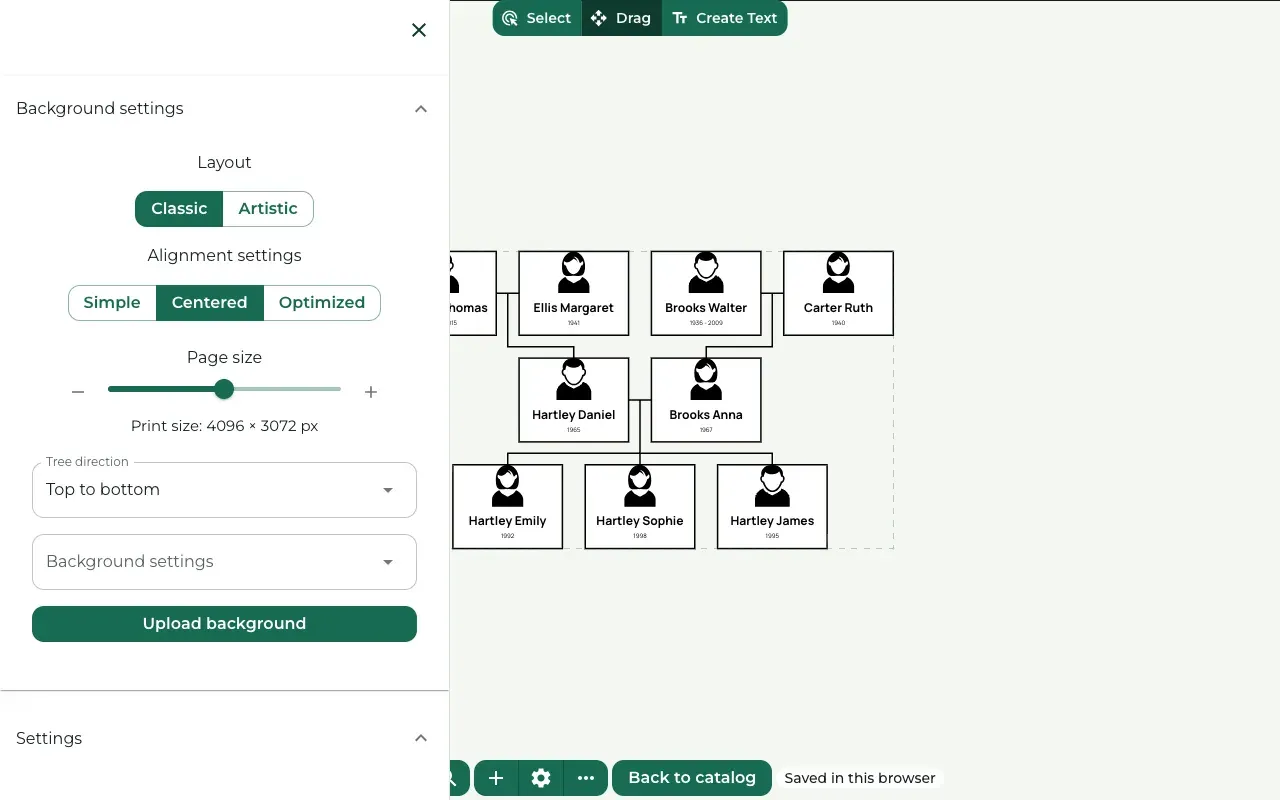
Press the gear button to open the Settings drawer on the left. It has two parts.
Background settings holds the layout, the page size, the tree direction and the background picture. Settings starts with Template Style, the pre-built templates that change the whole look at once, then holds the person cards, the text and the lines between people. Click a heading to open or close it.
When you click a person or a text box, the drawer shows the controls for that item instead.
Press the X at the top of the drawer to close it.
More editor actions
Where to find it: Toolbar at the bottom → More editor actions (the three dots)
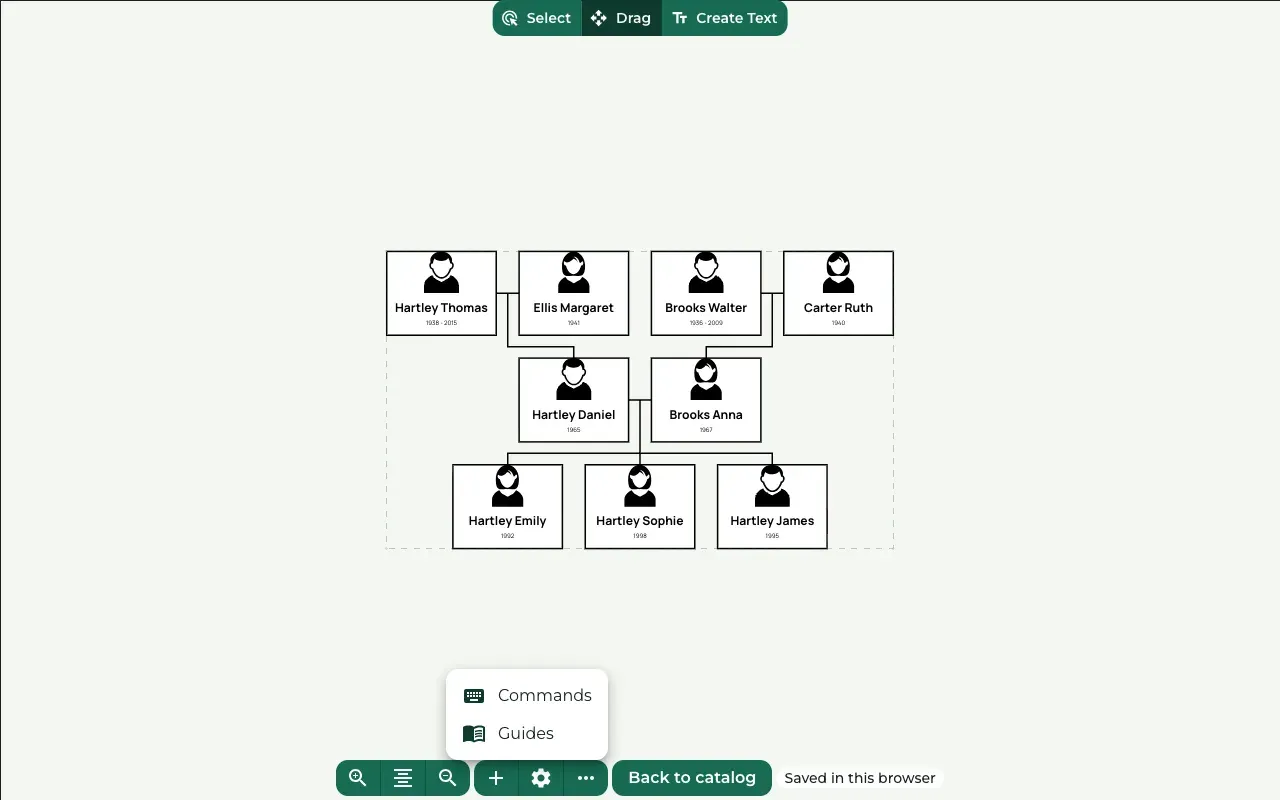
The three dots open a short menu:
- Commands lists every command with its keyboard shortcut.
- Guides opens these guides in a new tab, so your design stays open.
- Report a bug (in your own projects) sends us a message when something does not work.
The Commands list
Where to find it: More editor actions → Commands
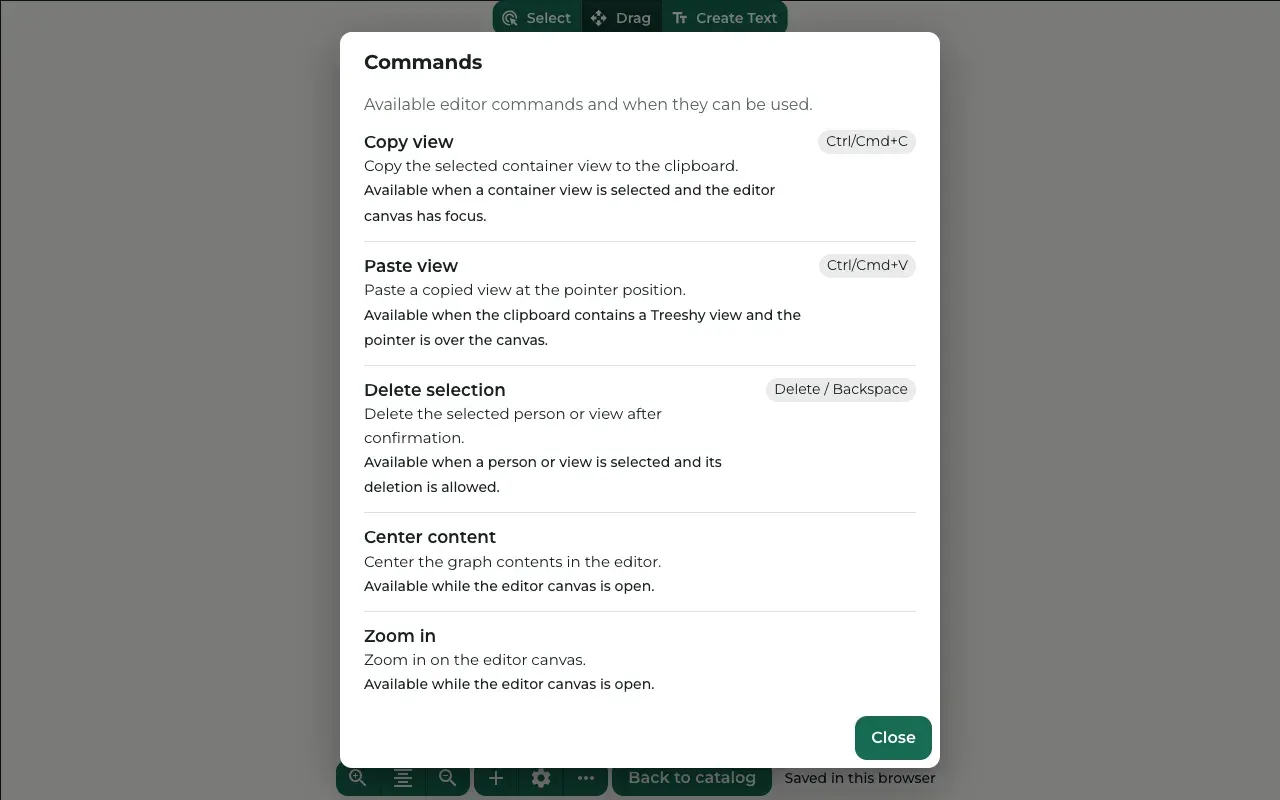
The Commands list shows what each command does, when you can use it and its keyboard shortcut. For example, Delete selection removes the selected person or text when you press the Delete key.
Press Close to go back to your design.
Saving your work
The editor saves your design by itself.
- In the free editor, your work is kept in this web browser only. It is not in an account, and other computers or browsers do not see it. Clearing your browser data removes it.
- In your own projects, Treeshy saves your work to your account, so you can open it on any computer. See Your projects.
Changes to a person still need the Save button in the Person actions panel.
Still stuck? Look for your question in the FAQ, browseall guides, or write to us.