
Make a family tree from scratch, step by step
Build your family tree person by person in the free editor, from your own name to grandparents and children, then finish it with a template.
This guide builds a whole family tree by hand: you start with one empty card, put in each person, add relatives one by one, and finish with a ready-made look.
You need only a web browser. The free editor works without an account. Keep this guide open in one browser tab and the editor in another.
Would you rather answer a few questions and let Treeshy lay the tree out for you? Create your family tree with the form instead.
Write down the family first
Before you open the editor, make a short list on paper or in a note:
- each person’s name, written the way it should appear on the tree;
- the birth year, and the death year where there is one;
- who is married to whom, and whose child each person is;
- which photos you have, if you want photos on the cards.
Start with yourself, your partner and your children, then your parents and grandparents. A tree of 10 to 30 people fits comfortably on a poster.
Open the editor
Where to find it: Any Treeshy page → Get started → Try the editor
Open the Get started menu at the top of the page and choose Try the editor. It opens with a ready-made tree of empty cards.
With a plan, you can start in your account instead: open My projects and press Blank project.
In the free editor, your work stays in this web browser. Until you have a plan, the canvas shows a PREVIEW TREESHY.COM mark; it is only on the screen.
Start with one empty card
Where to find it: Toolbar at the bottom → Add data (the plus button)
Press Add data and choose Start from scratch. Treeshy asks before it replaces the tree on the canvas. Press OK.
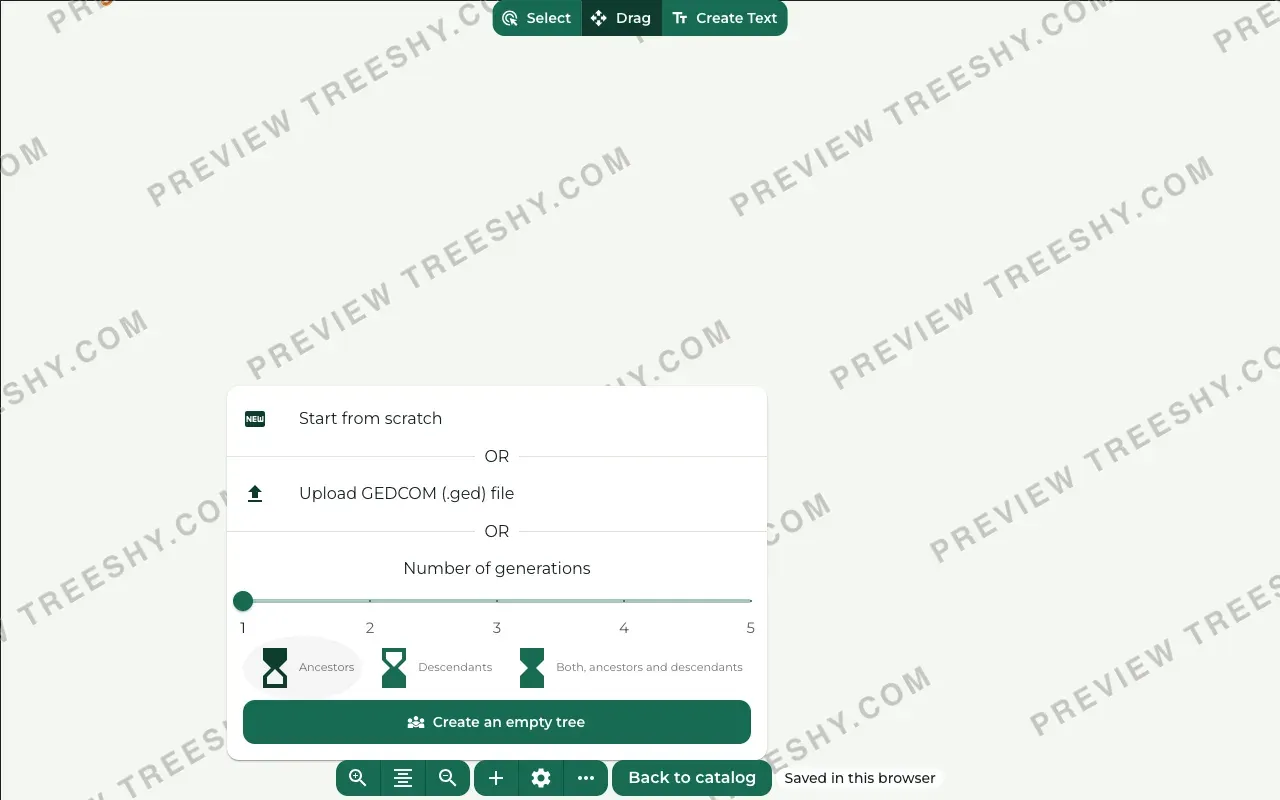
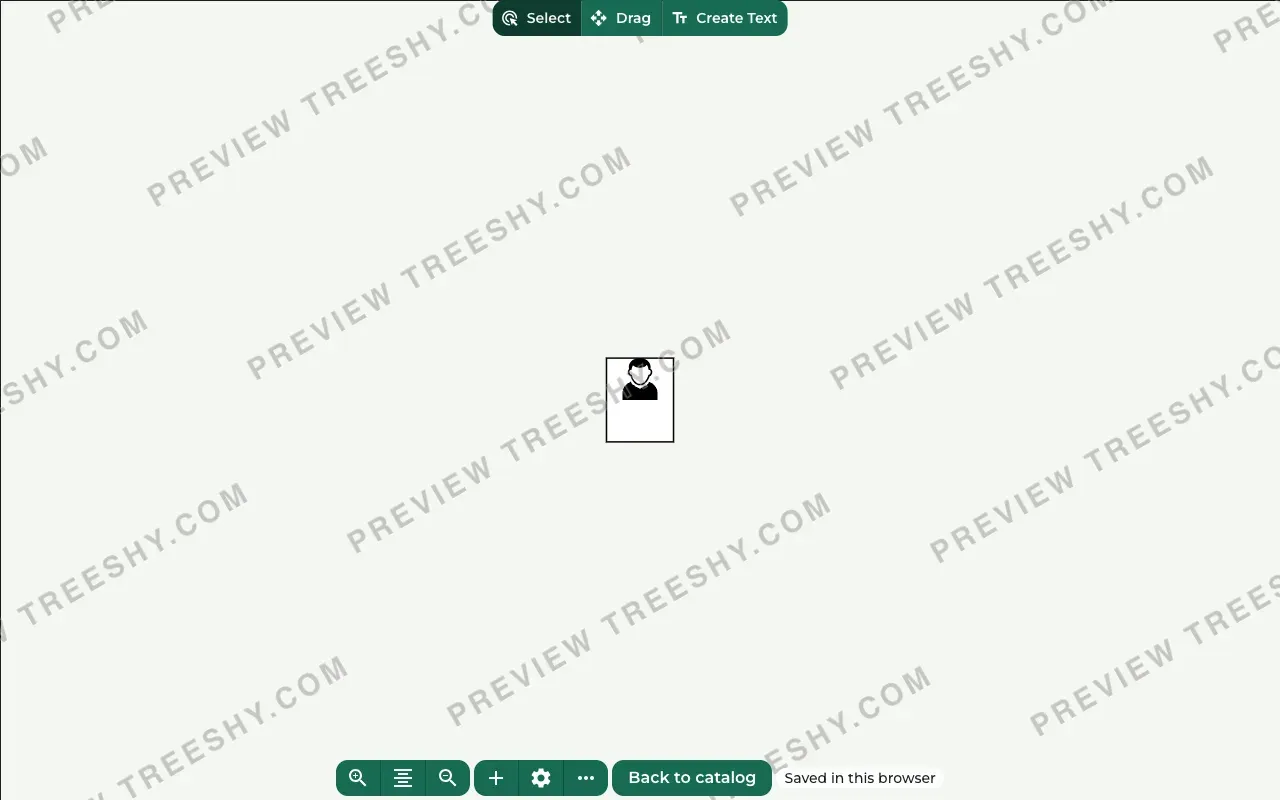
You now have one empty card in the middle of the page. That card is you.
Would you rather fill in names than add people one by one? Set Number of generations, choose Ancestors, Descendants or Both, ancestors and descendants, and press Create an empty tree instead. One generation of ancestors, for example, gives a couple and both sets of their parents.
Put in the first person
Where to find it: Click a person card → Person actions
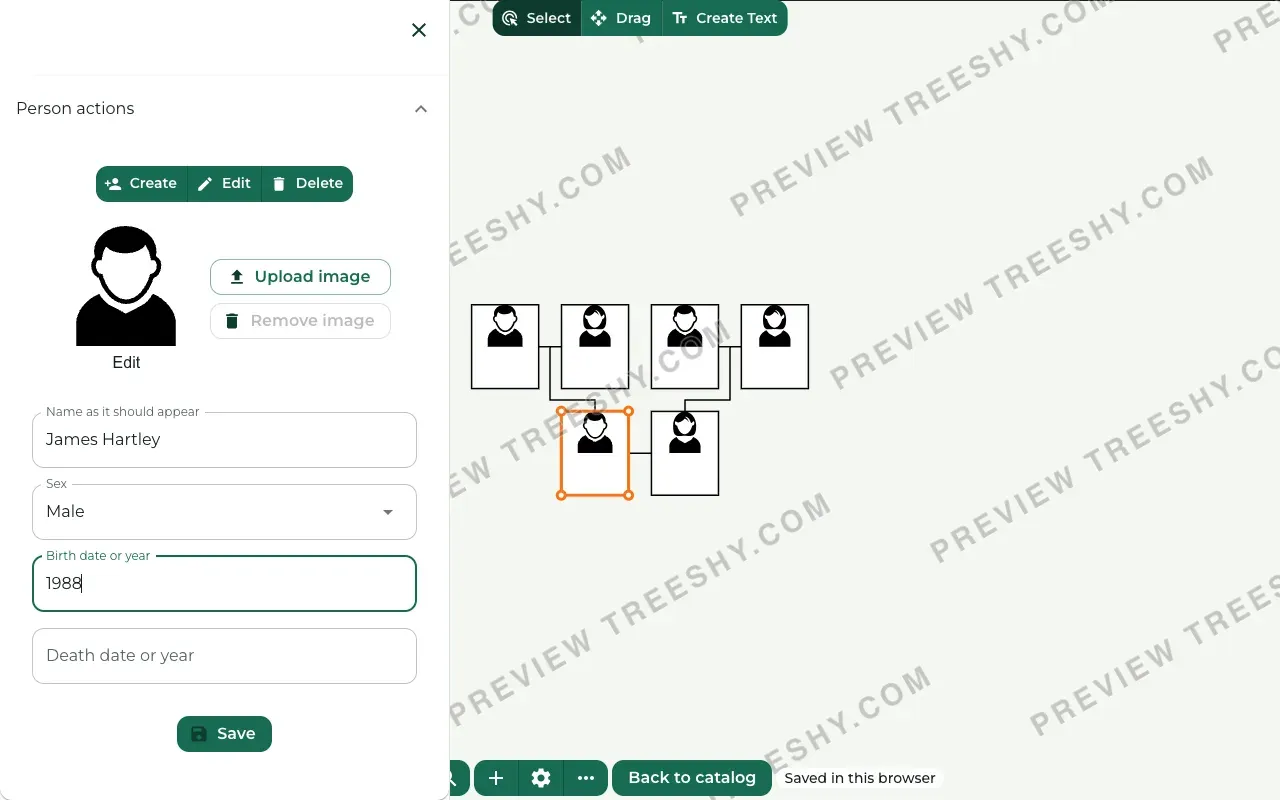
Click the card. The Person actions panel opens on the left.
Type your name in Name as it should appear and your year of birth in Birth date or year. Check Sex. Press Save.
Add your family, one person at a time
Where to find it: Person actions → Create
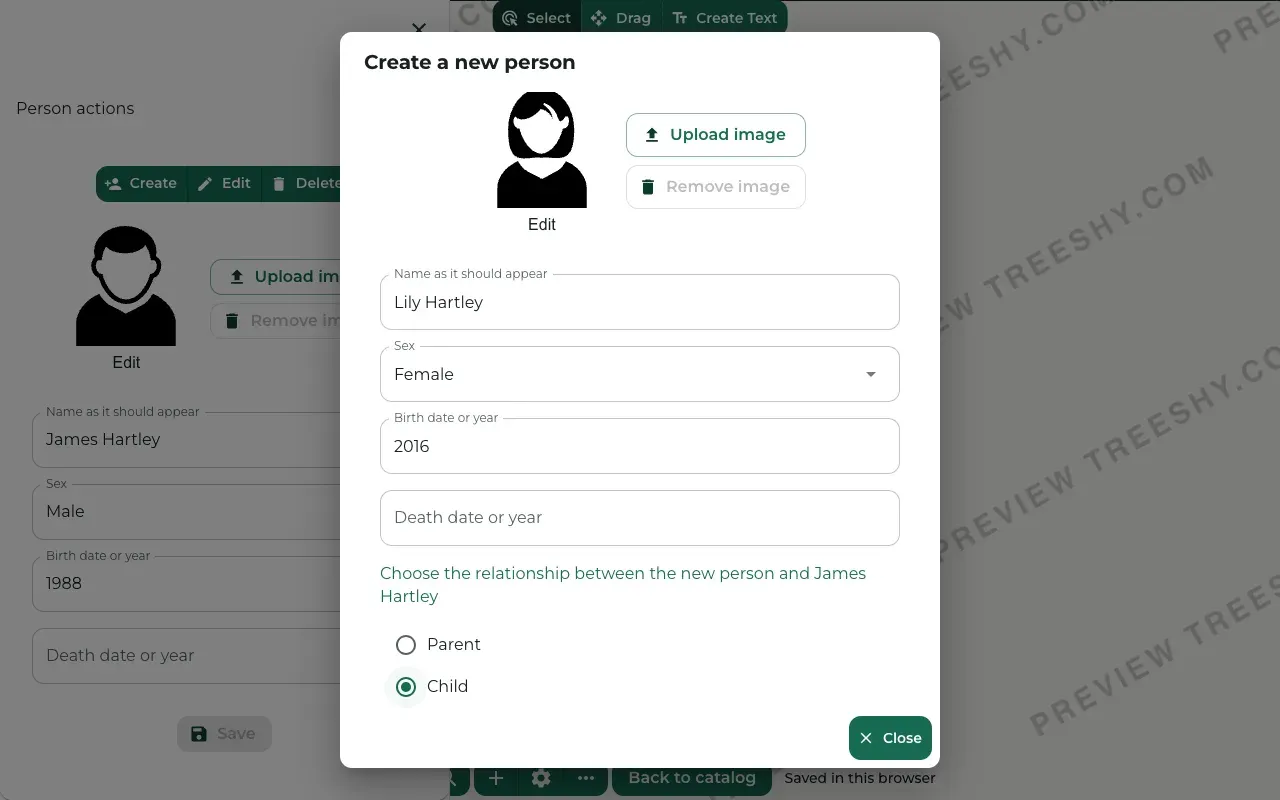
Select the person the new relative belongs to and press Create. The Create a new person window opens.
Type the name and the years and choose the Sex. Under Choose the relationship between the new person and, pick Child, Sibling, Parent or Spouse. Scroll down and press Create.
Repeat this for every relative on your list:
- your partner: select yourself and choose Spouse;
- your parents: select yourself and choose Parent, once for each parent;
- your children: select yourself and choose Child. A child added to one partner of a couple joins both of them;
- your brothers and sisters: select yourself and choose Sibling;
- your grandparents: select your parent and choose Parent.
Each person has at most two parents, so add a parent only to someone who still has a free place.
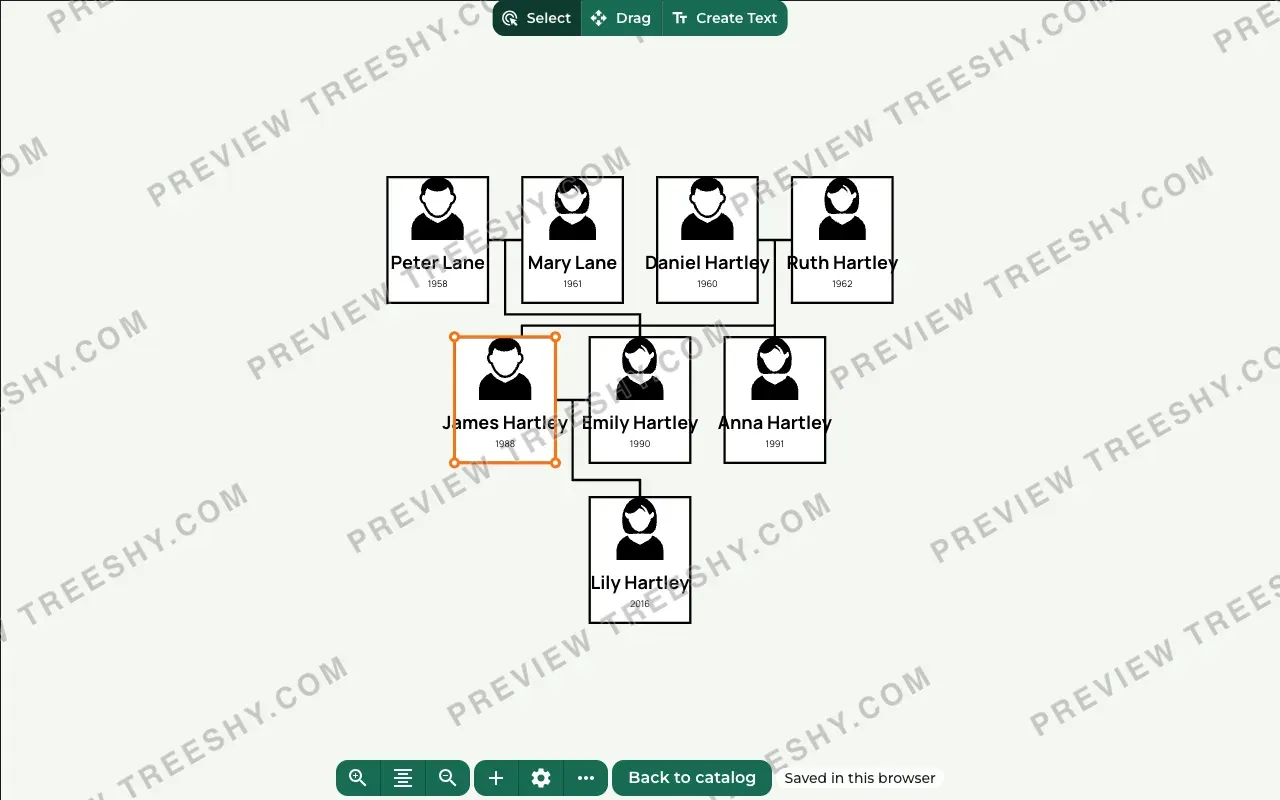
Remove a person
Where to find it: Person actions → Delete
Added someone by mistake? Select the card and press Delete. Treeshy asks first; press OK.
A deleted person cannot be brought back, so check the name before you confirm.
Add photos
Where to find it: Person actions → Upload image
Photos are optional. Select a person, press Upload image, choose a photo from your computer and press Save.
A clear photo of the face works best: the card crops it to its own shape.
Give the tree a finished look
Where to find it: Settings (the gear button) → Settings → Template Style
Press the gear button at the bottom of the screen. Under Settings, open Template Style. Each card shows a finished design: its artwork, person cards, fonts, colours and lines.
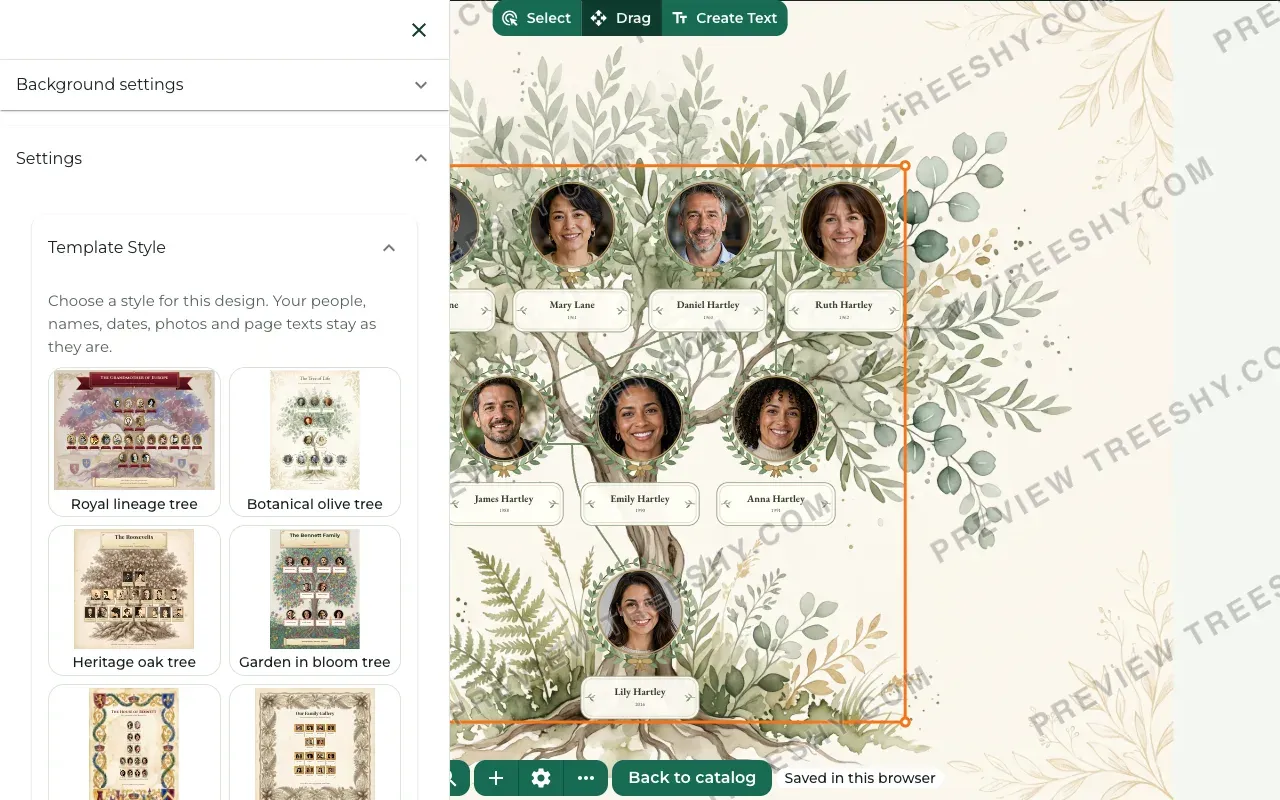
Click the one you like. Treeshy asks before it changes the look; press OK. Your people, names, dates, photos and page texts stay as they are, and the tree is laid out again.
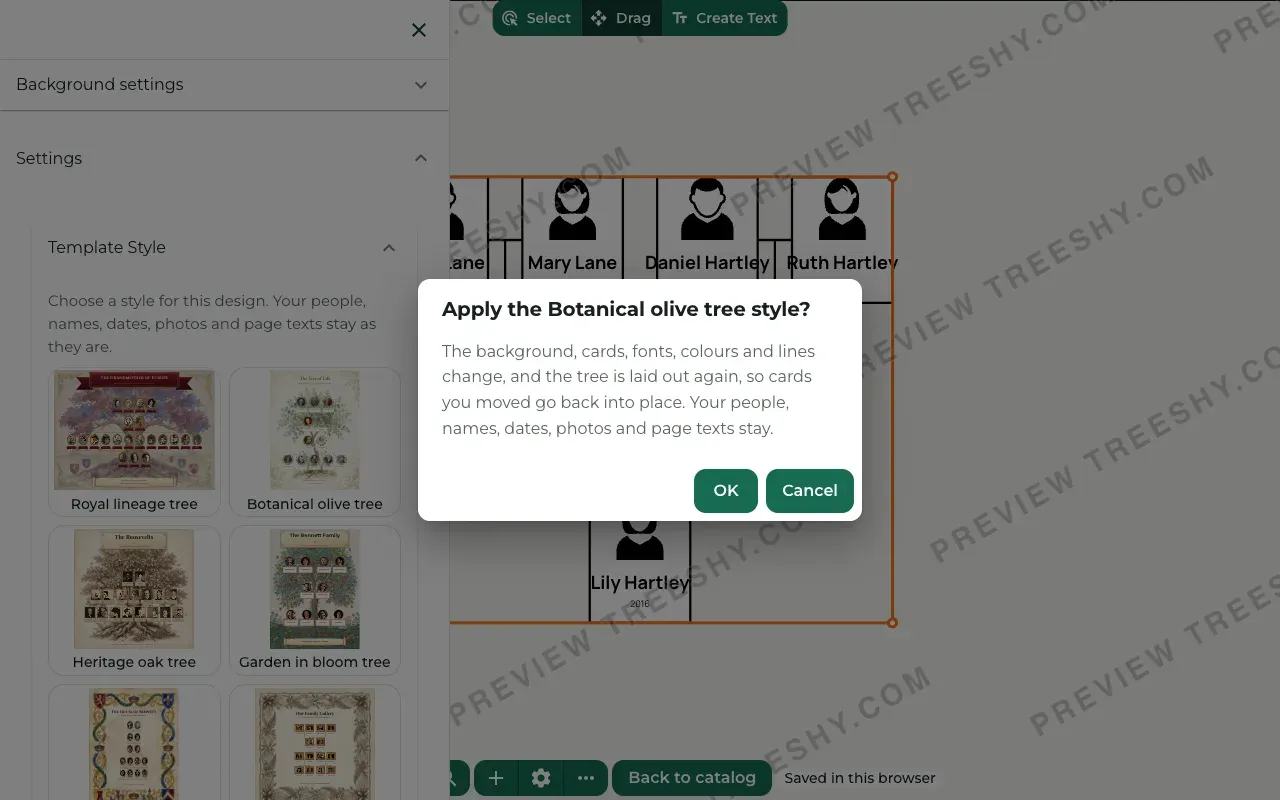
You can try another style at any time. See every style, with pictures, on Pre-built templates.
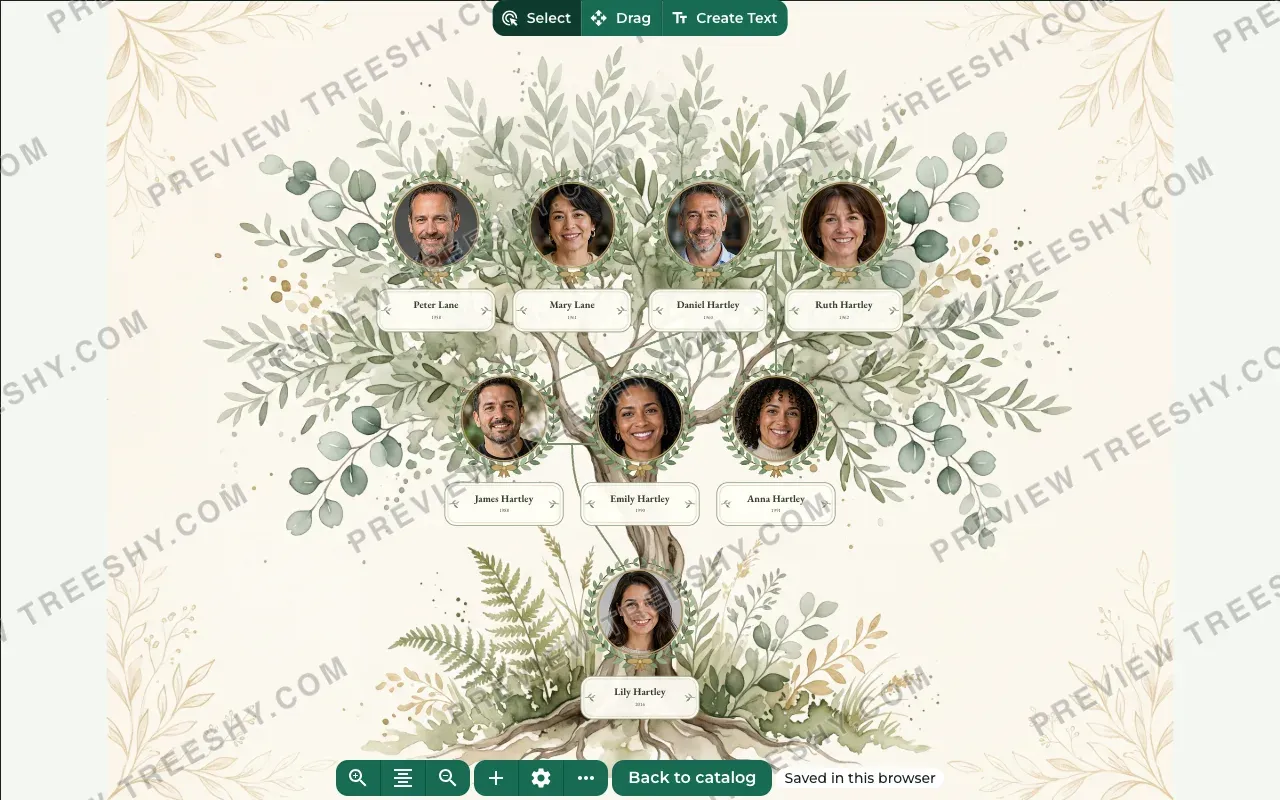
Fine-tune the layout and add a title
Every part of the look can still be changed by hand:
- Layout: the tree’s direction, the space between people and the Artistic arrangement on a tree crown.
- Colors, fonts and frames: card styles, fonts and line colours.
- Text and titles: a family name above the tree, or a line of words below it.
Check, save and download
Zoom in and read every name and year once more. A print shows every small mistake.
The editor saves your work as you go. In the free editor it is kept in this web browser only; with a plan, it is saved to your account and you can open it on any computer.
To get a print-ready PDF, choose a plan. Subscribe from this browser, and Treeshy adds the tree you made here to your projects. Then download and print your design.
Still stuck? Look for your question in the FAQ, browseall guides, or write to us.