
Import a family tree file (GEDCOM)
Bring the people from your genealogy program into Treeshy with a .ged file, so you do not have to type every name again.
A GEDCOM file is the standard file that genealogy programs and websites use to share a family tree. Its name ends with .ged. It holds the names, the dates and who is related to whom.
Treeshy reads this file and draws the tree for you.
Save a .ged file from your genealogy program
Where to find it: Your genealogy program or website
Open the program or website where your family tree is kept. Look for a menu item that exports or downloads the tree as GEDCOM. Its name differs from program to program.
Save the file on your computer and remember where you saved it. For a first try, a small file with a few generations is the easiest to check.
Open the editor
Where to find it: Get started → Try the editor, or My projects → Open
Import works in the free editor and in your own projects. In the free editor, choose Try the editor in the Get started menu.
Press Add data
Where to find it: Toolbar at the bottom → Add data (the plus button)
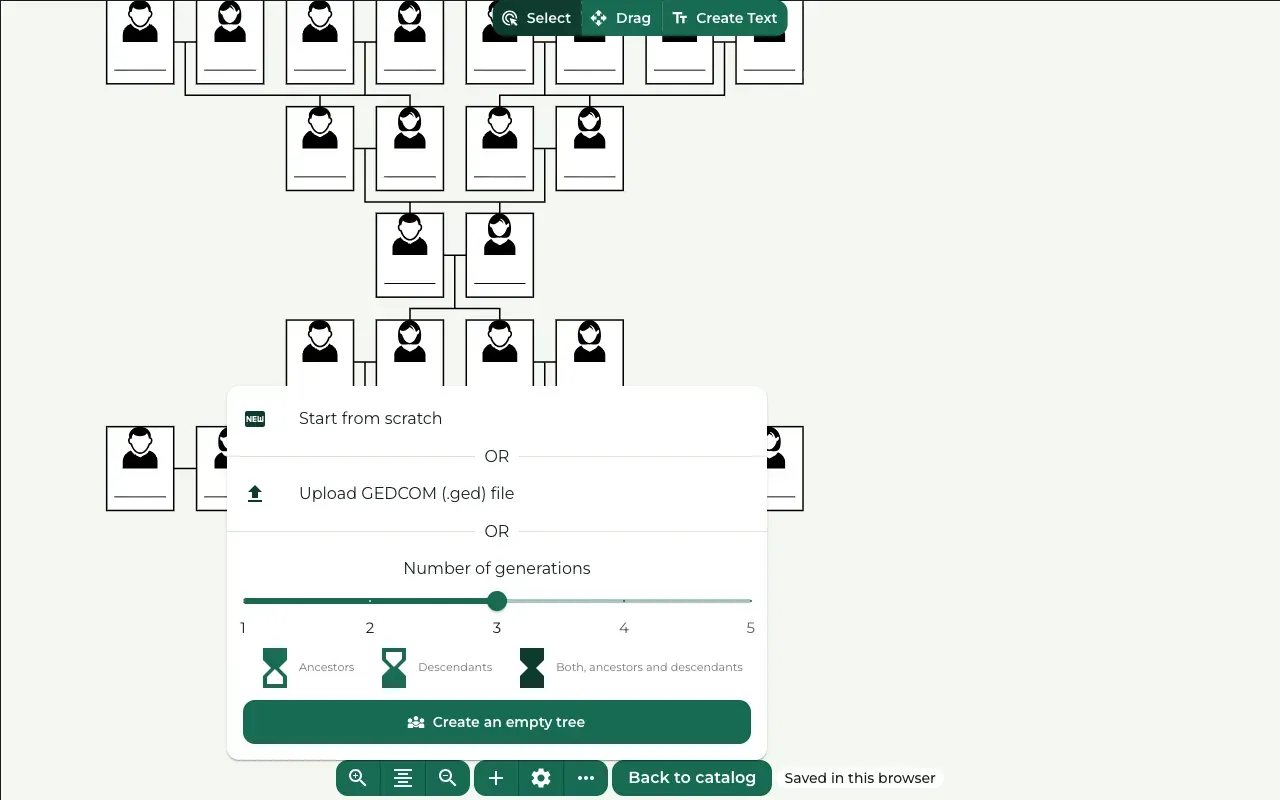
Press Add data at the bottom of the screen. A menu opens. Choose Upload GEDCOM (.ged) file.
Confirm and choose your file
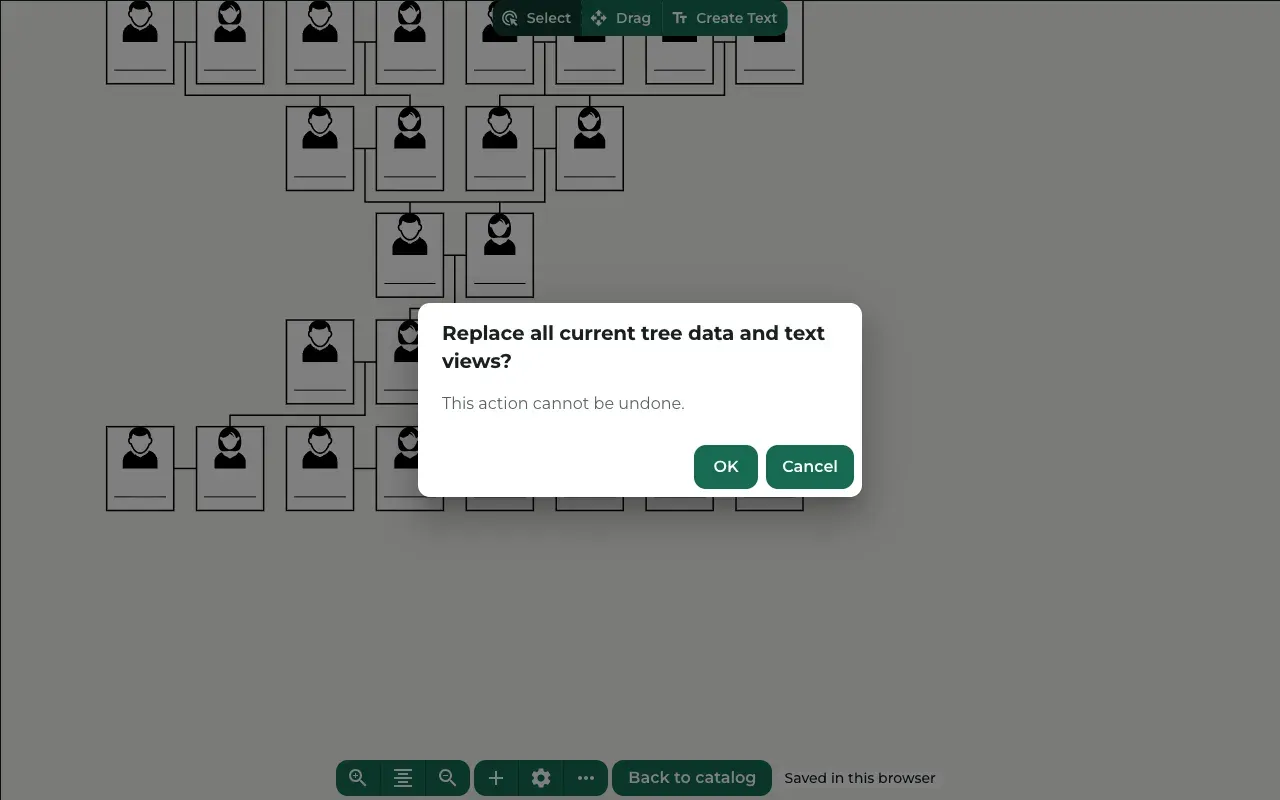
Treeshy asks: Replace all current tree data and text views? Your file replaces the people on the canvas now.
Press OK. Then choose your .ged file on your computer.
Check the people
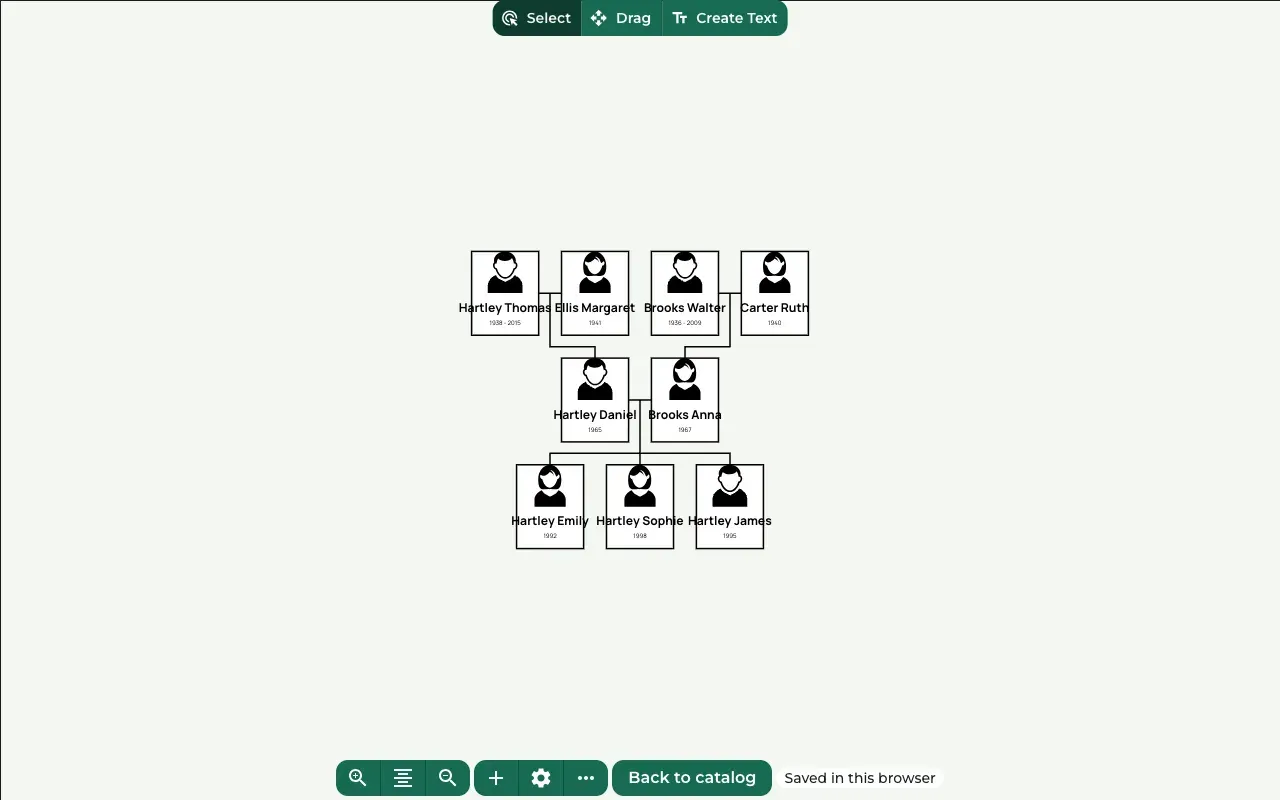
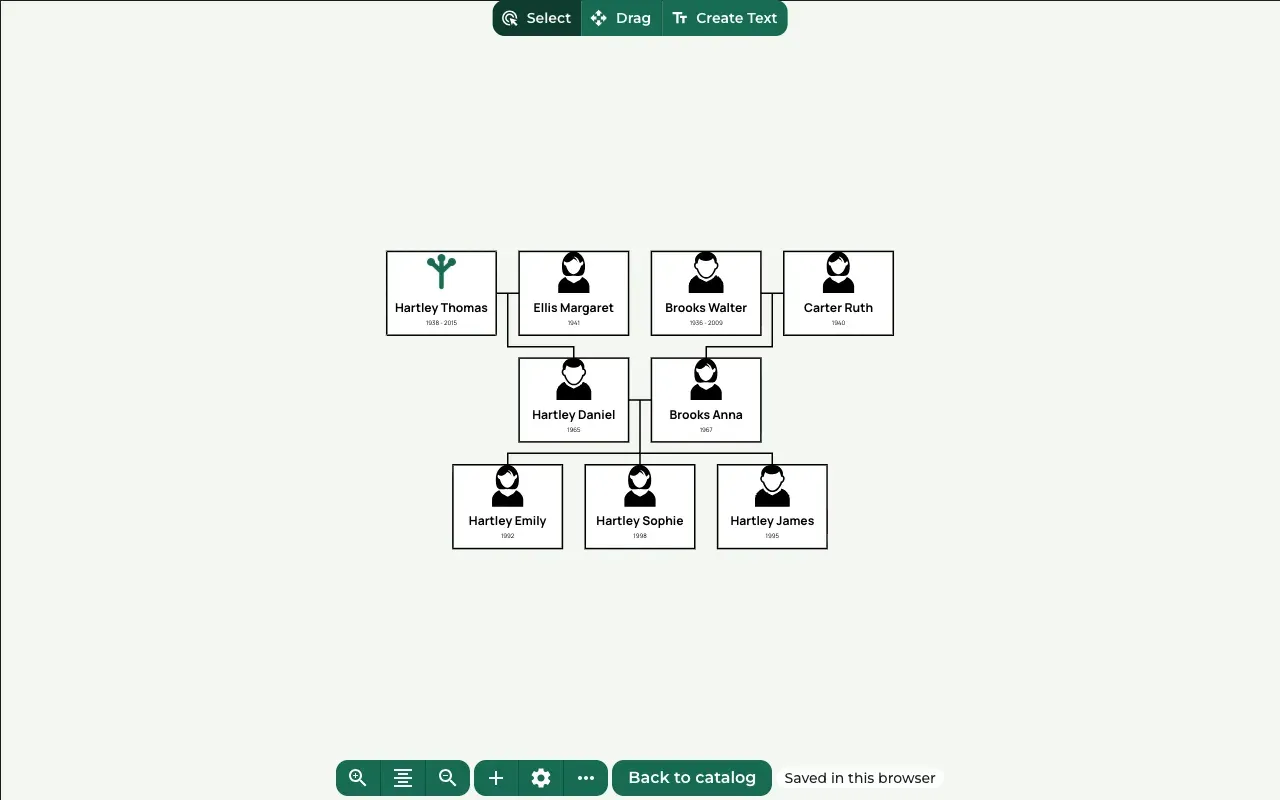
Treeshy draws a card for each person in the file, with lines between relatives.
Read each card. Names show the family name first, for example Hartley Thomas. To change how a name reads, click the card, change Name as it should appear and press Save.
If a card has no name, your program may store the name in a way Treeshy cannot read. Type it on the card instead.
Make room for long names
Where to find it: Settings (the gear button) → Settings → Node layout and frame → WIDTH
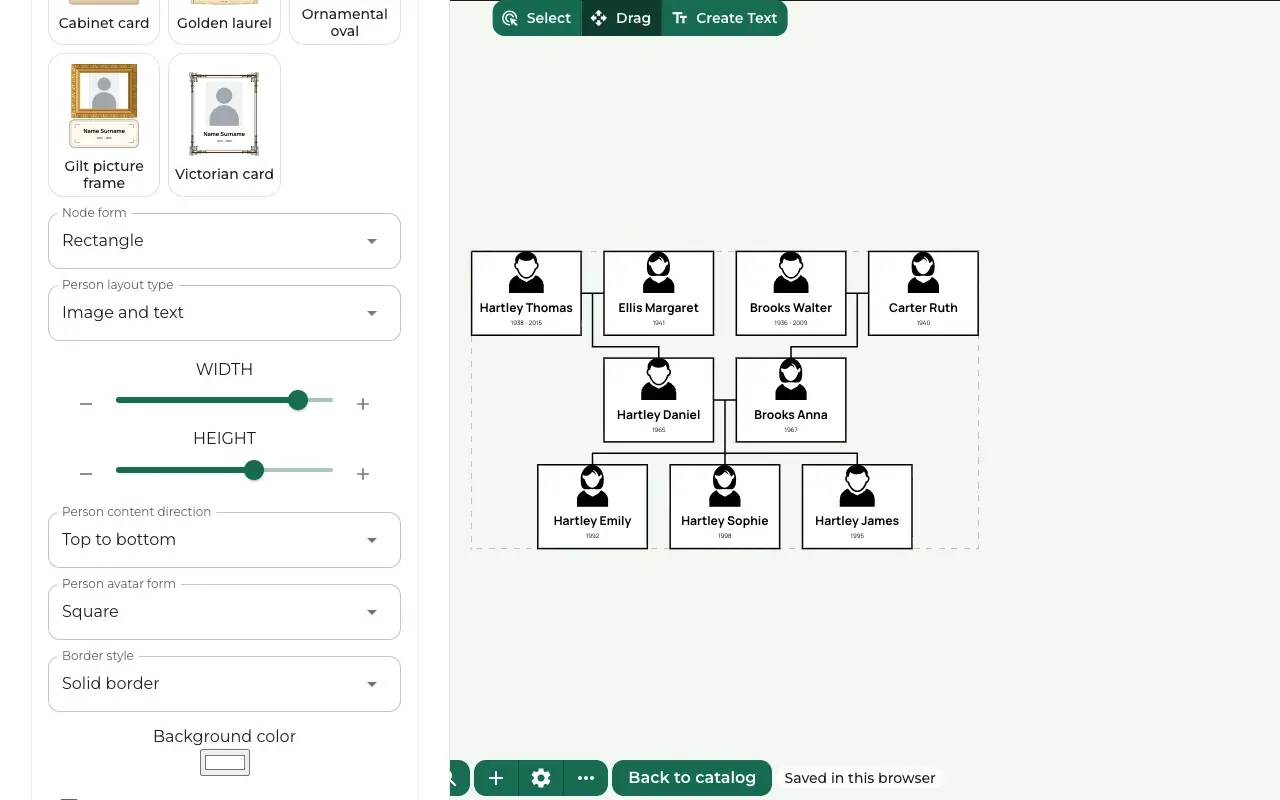
Long names may not fit on the cards. Press the gear button and open Node layout and frame.
Move the WIDTH slider to the right, or press its plus button, until the names fit. Then press Center content at the bottom of the screen.
Add photos
Where to find it: Click a person card → Person actions → Upload image
Click a person card. Press Upload image, choose a photo from your computer and press Save. Repeat this for each person you have a photo of.
Photos named inside your GEDCOM file are copied only in your own projects, with a plan: Treeshy downloads the ones linked on the web, as long as they are PNG or JPEG files within the upload limit, and tells you how many it skipped. Photos that point to files on your computer are always skipped. The free editor imports the people but not these photos.
Still stuck? Look for your question in the FAQ, browseall guides, or write to us.